The compost produced by fungal breakdown instead of bacterial degradation through decomposition of tree leaves and shaded deciduous is known as leaf mold. Leaf compost is used as a soil conditioner and organic fertilizer.
Leaf mold is a mixture of well-decayed grass softwoods, lawn mowing, leaves, and other plant materials. It promotes the improvement of soil texture and growth of plants and increases plant capacity for moisture retention through the help of humus present in it. In this article, you can get answers to various questions about leaf compost or leaf mold.
For example – how to make compost from leaves? Leaf compost price? How to make leaf compost easily? And many more.
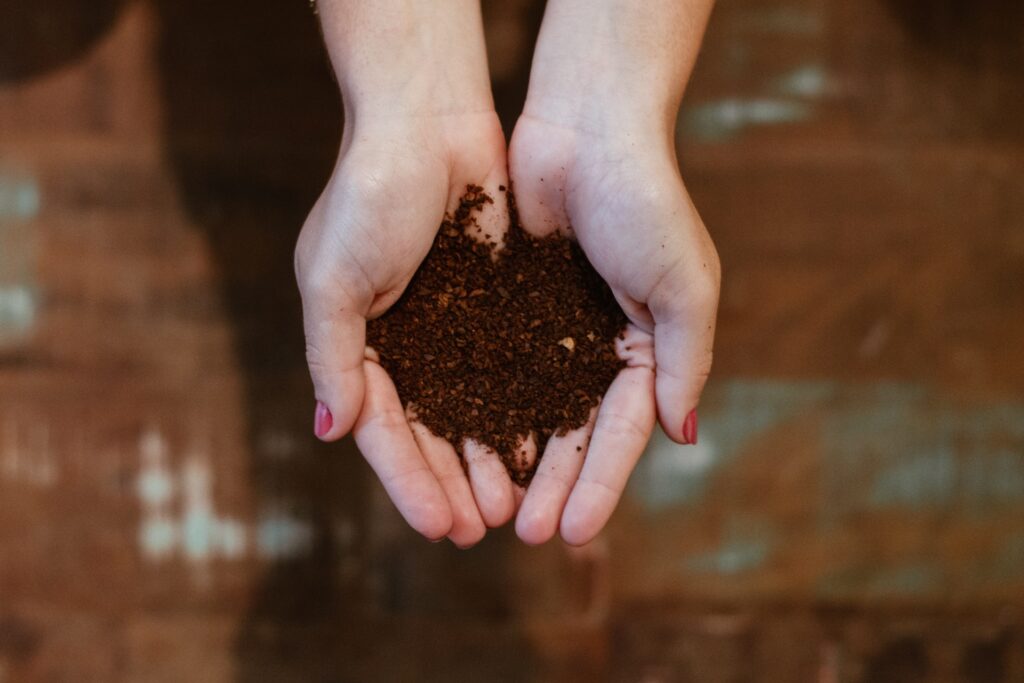
Image Credit- Unsplash
It is not easy to collect leaf compost in the Indian market commercially, and you can either make it at your place or order it from the forest. Leaf mold is a delicate powdery humic matter whose color is dark brown. In this process, there may be various fungal species involved. It may also involve a range of micro detritivores to convert the leaf material into a grained and fine humus.
How to make compost from leaves ? or Preparation of leaf compost
Leaf mold composting making is an effortless procedure. Making leaf mold is a procedure of letting leaves rest and decompose over the period till it becomes dark brown to blackish. It has a crumbly texture, earthy and pleasant aroma, just like compost. You have to use only leaves to prepare leaf compost instead of other organic matters.
You can make leaf compost at no cost, and it works as a fantastic soil amendment and has a tremendous impact on the health of the soil. Leaf compost is easy to use and simple to make, and making leaf mold is cheap and environment-friendly. If you want to know the online leaf compost price, search Flipkart and Amazon, and the cost is around rs70 to rs200 per 1 kg.
There are two effortless and popular methods to prepare leaf mold. You have only to keep patient and wait for the completion of the process because it does not prepare overnight. Compared to grass clippings which are nitrogen-rich materials, leaves take more time to break down and are rich in carbon. The leaf mold process takes at least one year or more.
You only need a large plastic garbage bag, wire or wood bin, and fallen leaves to prepare leaf mold. The container is called a leaf mold compost bin.
Preparing leaf mold by using a plastic garbage bag
Get a polybag or plastic garbage bag from any nearby store, and the bag should be black. You have to put leaves in the bag them moisten them. Don’t use too much water or less water. Bind the bag tightly from the top with the help of a thin rope.
You can make tiny holes in the leaf mold compost bin for airflow. If you don’t make holes, the leaves become slimy. Then leave the bag in your backyard or on the roof. You can put the bag in the sunlight area. You have to check the

Image Credit- Unsplash
bag every month. If you feel dryness, then sprinkle some water and shuffle the leaves.
It would be best to be careful that there should be no plastic material or other parts of the tree going inside the leaf mold compost bag with the leaves. You can use small leaf particles to speed up the decomposing process. After completing the process, you have to spread the leaf mold compost and dry out them for 24 hours. Then crush them and separate the big particles. Then use them as leaf mold compost for plants.
You can add 1 kg of urea with 10 liters of water. Then dump all the leaves into the water, take them immediately after getting wet, and put them in a plastic garbage bag in the procedure mentioned above. In this way, you can quickly accelerate the degrading process and speed up the leaf mold compost.
Preparing leaf mold by using wire or wood bin
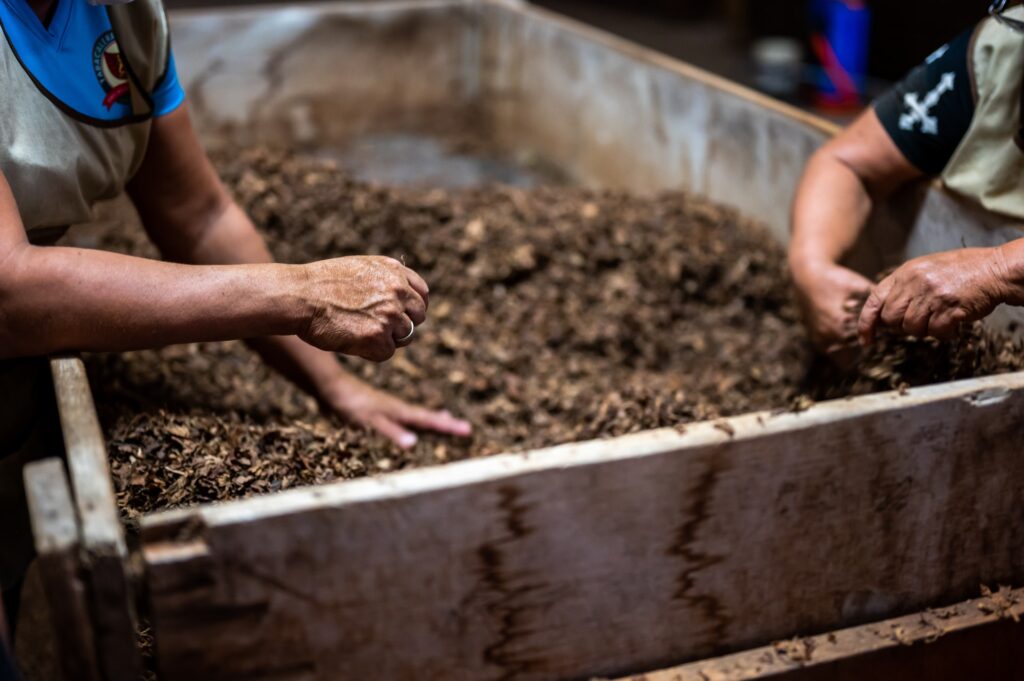
Image Credit- Unsplash
You have to collect the pile of fallen leaves from your garden, backyard, or any other place. Put them into a wire or wood bin. You have to take at least three feet
tall and three feet wide containers. Then dampen the entire pile thoroughly with water. Let the rise sit. Check the leaf mold compost bin occasionally and add water if it needs.
Another procedure to make leaf mold
Stage 1 – collect greens and dry leaves
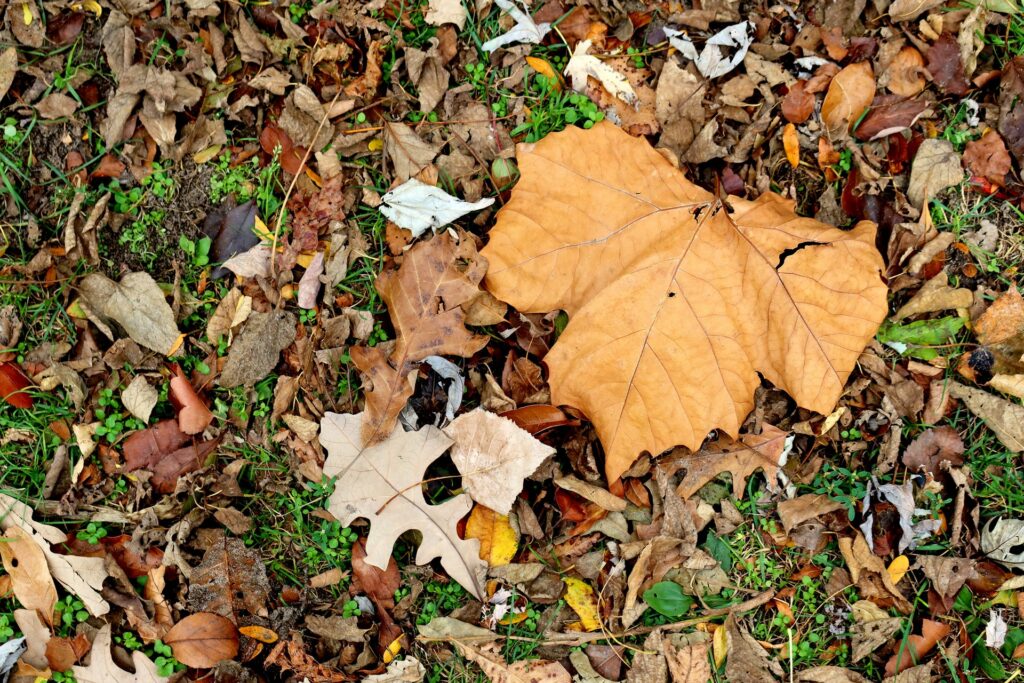
Image Credit- Unsplash
Usually, lawns, gardens, and fields generate a tremendous amount of liter. We get so much green matter even after trimming grass and lawn mowing. Usually, this green is being carried away and thrown into damping grounds or is burnt, through which we lose a lot of green resources. These resources can be recycled and brought into valuable manure, which returns to the soil to make the soil more productive. Especially when the ground requires a lot of moisture, these organic matters can hold much humidity.
Stage 2 – seting up the unit
There are several ways of composting. We will discuss the leaf mold composting with the help of cow dung. You have to set up a wooden unit with some bricks in this process. You have to set bricks on the ground, then put some sticks horizontally and vertically above the bricks to make this unit. The primary purpose of establishing this unit is to allow aeration from the base. In this way, the air can pass through the composting pile.
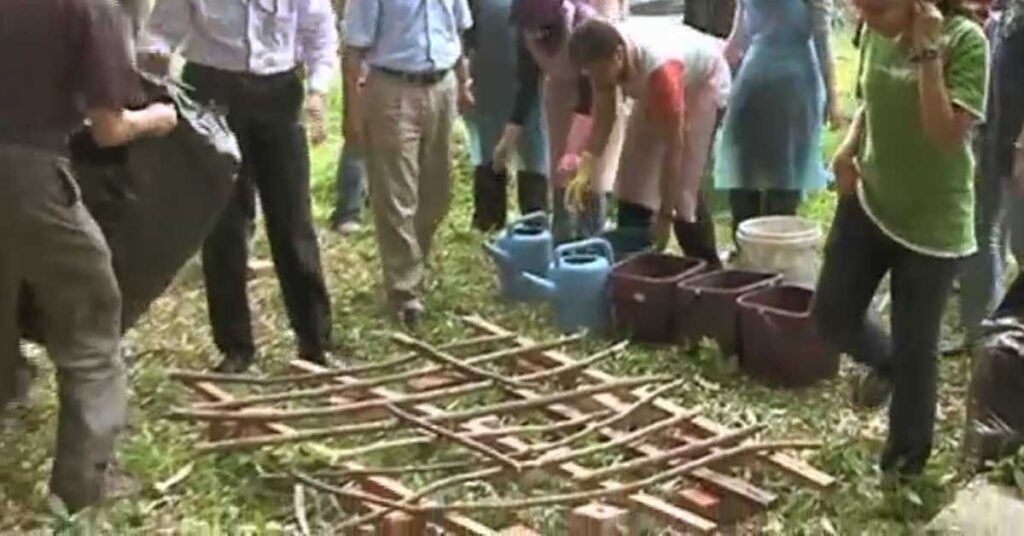
Image Credit- nurrhamzah(youtube)
In this process, we need some sticks, bricks or stones, some organic matters (grass, grass mowing, lawn mowings), and a little bit of dung which is very important. Any composting process can take place only if there are microorganisms in it. You can buy microorganisms from the market, but it is not necessary if you have cattle dung.
Stage 3 – setting up the first layer
You have to mix cattle dungs in water. Typically when microorganisms are mixed with water, they multiply faster, requiring moisture. Then you can start with setting up the first layer of putting up the matter. Probably you have to use carbon-rich value (dried leaves) at the base.
To form the basic structure of the ground, you have to use dry leaves. You can use broad base leaves or newspaper to hold the upper matters. You have to set the height of this layer of the pile upto 9 to 10 inches. Then sprinkle the diluted cow dung over the top of the coating.
Stage 4 – Setting up the next layers
When the bio-diversity goes into the matter, the quality of the manure improves a lot. Then add some greens to the bottom layer. It is called a pile or a heap. The greens are generally warm because the biomass generates heat. The dimension of the setup should be a minimum of 4 feet by 4 feet, and the height should be about 4 feet.
The minimum you can make the pile is good because it encourages more heat generation. Instead of cow dung, you can also use goat dung by diluting it in water. If you can’t access cow or goat dung, then use curd fermented in the home. You can also use yogurt instead of curd, but curd has more microorganisms. You can mix this in a little bit of water.
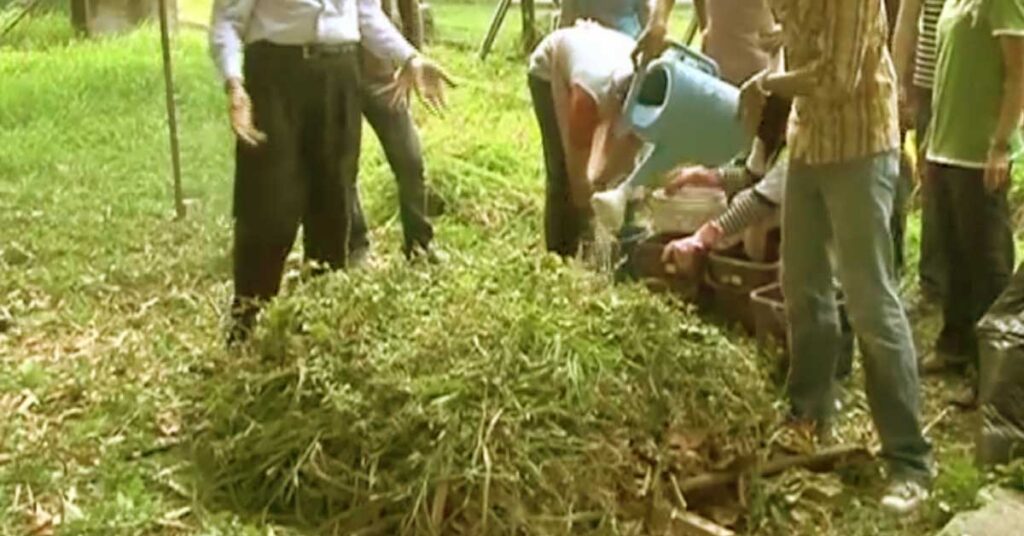
Image Credit- nurrhamzah(youtube)
The lactobacilli in curd are beneficial and make the composting process faster. Then add another layer of dry leaves above the greens. Then add or sprinkle the diluted curd mixture on it. If you don’t have access to curd or animal dung, you can also use any vegetable, especially banana, papaya, and pumpkin.
Chop the vegetable, add a little bit of sugar, and allow it to ferment for about 10 to 15 days. You can identify the end of this process by the fermented odor. Use the fermented liquid as a decomposing speed booster.
Then set another layer of greens on the layer and sprinkle some more liquids. Add dry matter to it and add the liquid mixture. In short, you have to sandwich dry leaves and greens one above another with the diluted cow dung or diluted curd mixture.
The advantage of adding green material is that it produces heat and the brown or dry leaves are carbon sources. By setting up the dry leaves on the base, nitrogen is made, and it becomes a gas (ammonia). The carbon and nitrogen balance is always essential for a composting unit.
Stage 5 – check the temperature of the unit
This unit will start generating heat on the second to the third day. You can check the temperature by putting a stick in the middle of the pile and leaving it for about 10 to 15 minutes. Then remove the wooden bar and feel it. It should be warm.
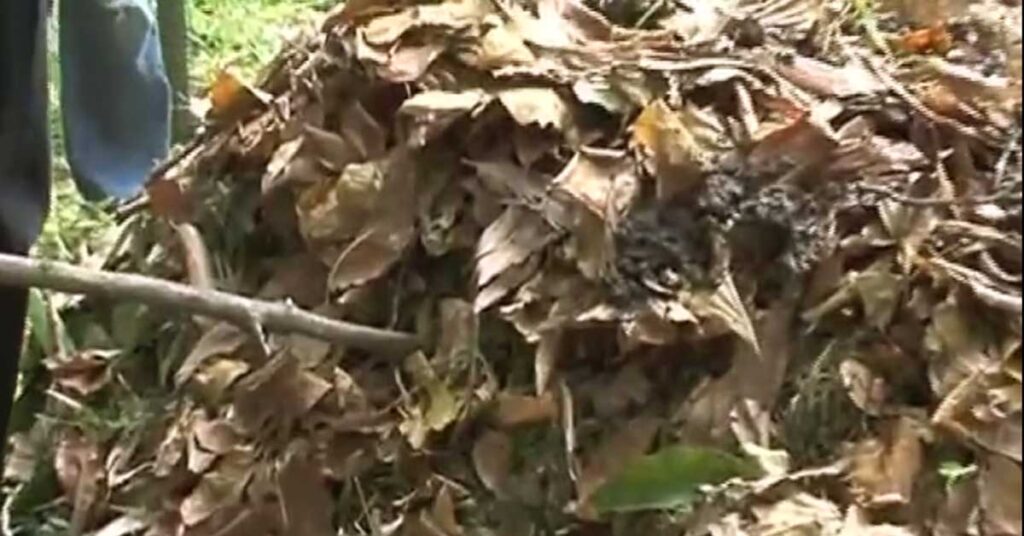
Image Credit- nurrhamzah(youtube)
If it is warm, your unit is fine. When you prepare any manure, there shouldn’t be any pathogens. At a high temperature of about 60 degrees, it will destroy the pathogens. We don’t need any seeds in a pile, and the warm temperature will ruin the seeds.
Stage 6 – cover the unit
Cove the pile with big polythene to save the bundle from excessive heat or rainfall. But don’t cover it entirely. You have to leave some space for air circulation. The pile becomes hot, and water evaporates during the process, but there is no space to go.

Image Credit- nurrhamzah(youtube)
The evaporated water goes sticks to the inner side of the covered polythene. At night, it goes cool, and the same water condenses and comes back to the pile. With this regular movement of water, microorganism also moves. It helps composting be faster and helps to increase the temperature within the third day.
Stage 7 – turn over the pile
The temperature goes to 55 to 65 degrees celsius. After the 12th to 15th day, it goes down. As the temperature comes down, you will find that the pile has also reduced its height. It happens because of the proper composition of the compost. Now, the rise is ready for turning over.
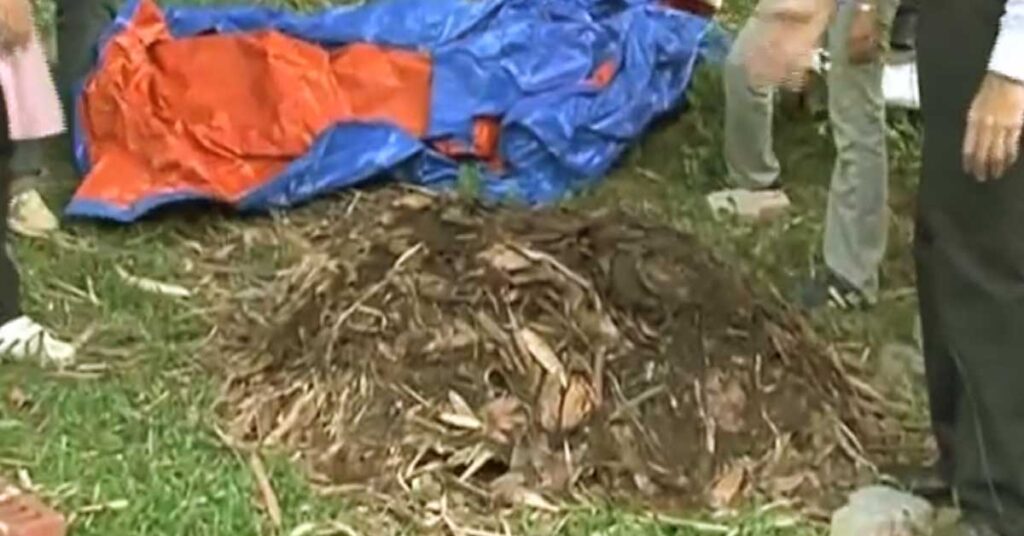
Image Credit- nurrhamzah(youtube)
Turning over is a must process. In any composting pile, a temperature that builds up takes care of the matter in the middle but not on the periphery or the outside. You have to turn over the stack so that the outer layer goes in and the inner matter comes out. After the turnover process, you may need a tiny amount of diluted cow dung or curd to sprinkle on it. After this process, you have to leave it for around 12 to 15 days. The thicker and more huge leaves take more time to compost properly. Don’t get worried about it.
Stage 8 – collect the final product
You can get the leaf mold compost in at least 1 to 2 months in this process. In chemical farming, we feed the plants, but we provide the soil in organic farming, and the earth feeds the plants. If you use thicker leaves and a high amount of organic waste, the process takes more time.
Some essential steps to make leaf mold in the backyard
- Choose a shady corner in your garden and make a pit of the size of 2 * 1 * 1 m (LBH).
- You have to expose the pile to the sun for 15 to 20 days.
- You have to apply carbaryl (10%) to keep it away from termination.
- You have to layer the bottom of the pit with coconut fiber.
- Then add a layer of 20 cm of dry leaves and twigs of 1 to 5 cm of soil.
- Until the pit becomes full, you have to repeat the alternative method of layering dirt and dry leaves.
- Put 10cm of earth, the final layer, from the top of the pit.
- You can cover the pit with dry coconut leaves to keep it away from direct rainfall.
- You have to check it after one month and water it.
- In 6 to 8 months, the dark-colored, odorless leaf mold compost will be ready to use.
Some tips you should keep in mind while preparing leaf mold.
- It would help to run the lawnmower over the leaves a couple of times before adding them to the bag or pile. Because as compared to big leaves, smaller pieces of leaves will decompose quickly.
- Every few weeks, you should turn your leaf pile using a garden fork or a shovel. You can give it a good shake or turn it over using the plastic bag method. By doing this method, air can pass into the leaf mold compost bag and quick up the decomposition process.
- You have to cover your matter with plastic polythene in case of using the bin or pile method. In this way, you can keep the leaves warm and moist more consistently.
Leaf mold compost uses and benefits
In gardening, leaf mold compost plays a critical role. For water retention and to improve soil texture, you can put this compost into the garden beds. You can use this like mulch in vegetable gardening or perennial beds. For its water-retaining ability, leag mold is excellent in containers.
How to use leaf mold in gardening procedure
- Leaf mold compost is essential for indoor plants. It can be used as a potting mixture.
- The leaf mold and sand mixture is a fantastic medium for cutting planting stem for root induction.
- You can use the mixture of one part each of sand and loam and two parts of leaf mold as an ideal seed sowing.
- To grow ferns in pots, you can use a combination of loam and leaf mold.
- You can grow orchids by using a mixture of coco peat and leaf mold.
- You can use leaf mold for Bonsai trees as ideal organic fertilizer.
- To provide natural does of nitrogen in vegetable gardening, you can use leaf mold in bulk quantities.
- Because of its ability to do uniform texture and retain moisture, leaf mold can be used as a fantastic soil conditioner.
How to use leaf mold like mulch
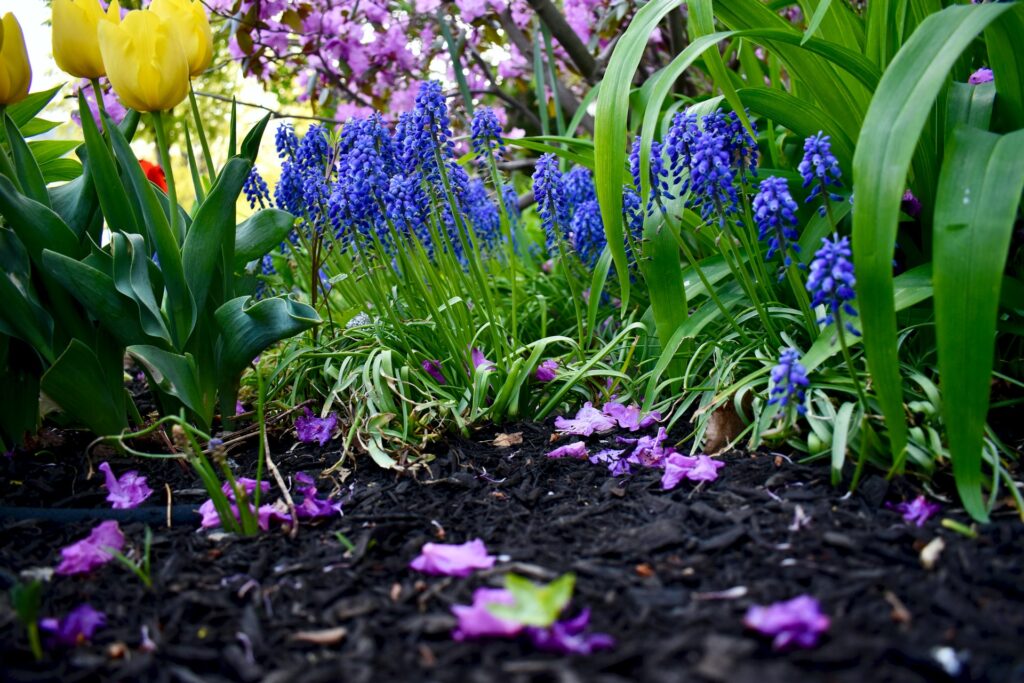
Image Credit- Unsplash
You can use leaf mold as organic mulch. You can put or spread a layer of leaf mold over the top of the soil of your orchard or farmland, or kitchen garden. This mulch enriches the soil with humus, protects the soil layer from erosion, and encourages more soil formation.
You can increase the Soil-friendly creatures like earthworms and beneficial soil microorganisms by using leaf mold.
Some methods to speed up the process of leaf mold composting.
You may wonder to know that making leaf mold takes a long time, about 1 to 1.5 years when you choose the natural way. If you don’t have that much patience and time, then by adopting some methods, you can hasten the process.
Provide water and shade
you can make the pile of leaves in the shaded area where evaporation reduction happens. You can keep the leaves moist in this way. You have to water the pile to moisten the leaves, and you have to provide an enormous amount of water to wet the spongy mass throughout.
Leaves have to be shredded
you can use a shredder to make the leaves in pieces or shred the leaves. This way, you can provide more surface area for the microorganisms to work. If you don’t want to use the noisy shred machine, then crush the leaves on your own.
You can add nitrogen to boost the process
microorganism needs nitrogen and carbon in huge quantity. As we know, autumn leaves are a great source of carbon, and you only need nitrogen. You can sprinkle or add high-nitrogen material to the pile, and it helps speed the process and turns the raw leaves into leaf mold compost. Grass clippings and soybean mea are high-nitrogen materials, and you can mix these materials with leaves of late-autumn mowing.
Leaf mold compost vs. cow dung compost
The final product of the fungal breakdown of leaves is known as leaf mold. It helps to keep moisture in the soil and improves soil texture. It works as a soil conditioner and helps to do aeration to the root zone of plants properly.
On the other hand, cow dung compost is rich in nutrients and high in organic matters. It contains 2% phosphorus, 3% nitrogen, and 1% potassium. It is the leaf compost nutrient analysis. Cow dung compost is an excellent plant growing medium and nutrient-rich fertilizer.
Difference between vermicompost and leaf mold
Vermicompost is produced from organic wastes and it contains high nutrients and requires less space to make it. Earthworms help to regulate the growth of plants, and the preparation process of vermicompost needs less time.
Leaf mold is a form of biodegradation of organic matter. Making leaf mold takes much more time than making vermicompost, and dry leaves are the main component of this process.
QnA
What are the primary uses of leaf mold?
Ans: You can use leaf mold as seed-sowing compost, which will be well-rotted and of good quality, older than two years. You can mix an equal quantity of sharp sand, good quality soil, garden compost, and leaf mold and use this mixture as potting compost.
What is the period to finish the process of leaf mold?
Ans: To get the maturity of compost, you have to wait for a few months. On the other hand, preparing leaf mold usually takes a year to 2 years. Keep patient and wait for at least one year to use this. If you use urea or nitrogen to boost the process, you can make leaf mold in 4 to 6 months.
What are the methods to speed up the leaf mold procedure?
Ans: You can speed up the process by adding nitrogen or urea to the pile or bin. The other two methods to boost the process are – to provide water and shade the bundle, and you can shred the leaves before adding them to the polybag or pile.
Is leaf mold contains high nutrients?
Ans: No, leaf mold is not rich in high nutrients. But it helps in good growing supplement to the seedling roots, and it provides structure and moisture to the soil.
Can we use leaf mold compost for vegetable gardening?
Ans: Yes, you can use leaf compost in a vegetable garden because it is a fantastic addition to the soil and plants. It encourages organic farming without chemical treatment, and it is environment-friendly.
From where can we buy leaf mold?
Ans: It is not easy to buy leaf mold in any store. But you can ask some organic stores or garden centers for leaf mold or can search some online stores. But it is more good to prepare your leaf mold in your backyard or on the roof.
What are the sources of leaf mold compost online in India?
Ans: If you want to buy leaf mold compost online in India, you can prefer Amazon, Flipkart, Meesho, or BigBasket. You have to pay Rs70 to Rs250 per 1 kg according to the quality and brand.


This will help me in my research paper.
Keep sharing our contents sir.